Crispy & Fluffy Gluten-Free Waffles: Better Than the Freezer Aisle
This post may contain affiliate links. Please read our disclosure policy.
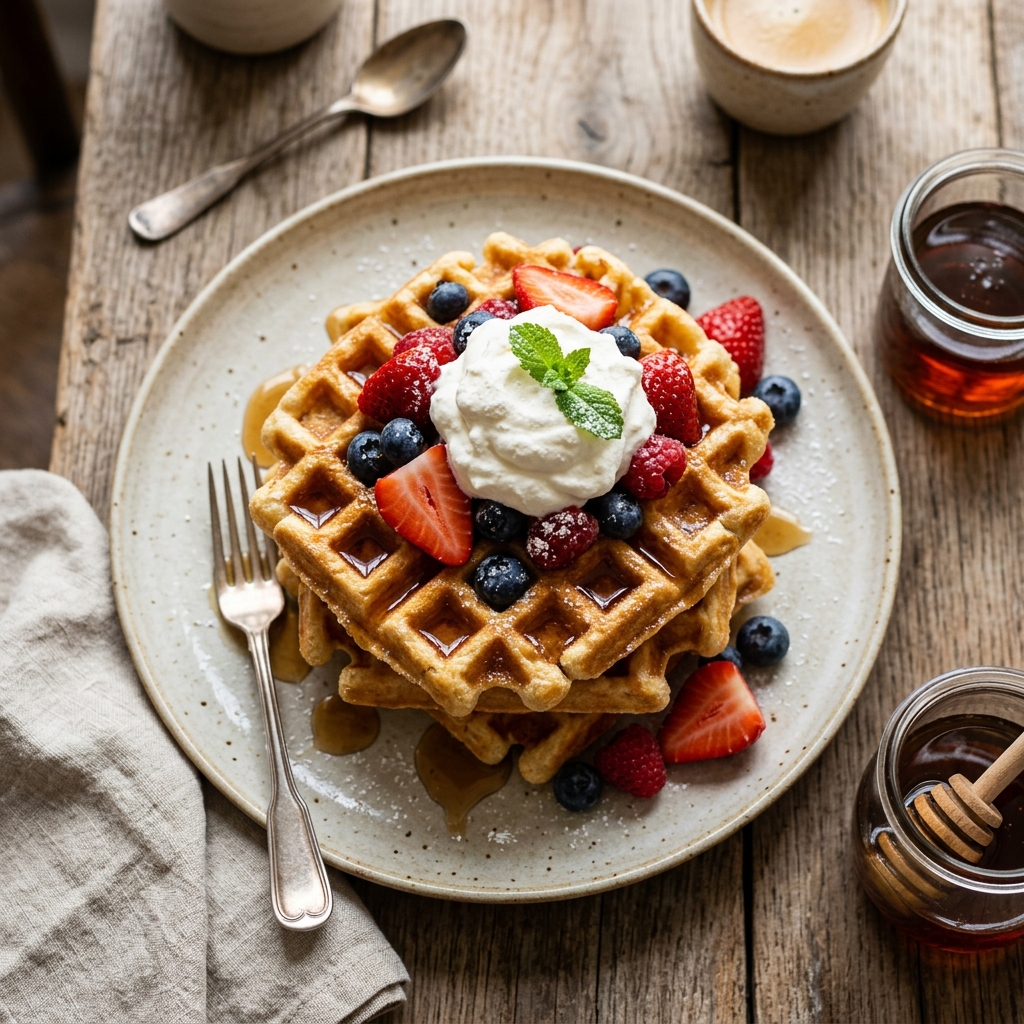
These gluten-free waffles are crispy on the outside, impossibly fluffy on the inside, and ready in 20 minutes. My kids don't even know they're GF — and that's the highest compliment a celiac parent can get.
Want to save this recipe?
Enter your email and we'll send it to you! Plus, get new recipes every week.
The Sunday Morning Rescue
Before this recipe, Sunday mornings in our house looked like this: My husband and kids eating golden, steaming waffles from the iron — and me eating a sad bowl of GF cereal, watching them.
I'd tried every frozen GF waffle on the market. Eggo GF? Cardboard. Van's? Better, but $6 for 6 flat little squares that bounce when you drop them.
So I spent three months testing GF waffle recipes until I hit this one. The first time I got it right, my 8-year-old said, "These are the best waffles you've ever made." I said, "They're gluten-free." He said, "No they're not."
That's when I knew.
Why This Recipe Works
Ingredients Explained
How to Make Perfect GF Waffles (Step by Step)
Step 1: Whisk the Dry Ingredients
Combine flour, sugar, baking powder, baking soda, and salt. Make sure your baking powder is fresh — old baking powder = flat waffles.
Step 2: Mix the Wet Ingredients
In a separate bowl, whisk egg yolks with buttermilk, melted butter, and vanilla. Keep this separate from the dry — you want to mix them together just before cooking.
Step 3: Whip the Egg Whites (THE SECRET STEP)
Using an electric hand mixer, beat the egg whites until stiff peaks form. This takes 2-3 minutes. Stiff peaks means when you lift the beater, the white stands straight up.
This is what separates a good GF waffle from a great one. The whipped whites create air pockets in the batter that survive the heat and give you that light, crispy-on-the-outside, fluffy-on-the-inside texture.
Step 4: Combine — Gently
Pour wet into dry and stir until JUST combined. Then fold in the whipped whites in two batches. Use a spatula and fold gently — you want to preserve as much air as possible.
Pro Tip: A few lumps in the batter are fine. Overmixing activates the starches in GF flour and makes waffles gummy.
Step 5: Cook
Spray a hot waffle iron with cooking spray. Pour batter in the center and close the lid. Cook 4-5 minutes until steam stops coming out and the waffle is deeply golden.
The golden rule: DO NOT open the iron early. Opening before the waffle is set causes it to rip in half and stick. Wait until the steam slows to a trickle.
Step 6: Serve or Keep Warm
Serve immediately with your favorite toppings, or keep warm on a wire rack in a 200°F oven. Never stack waffles — the steam between them turns crispy waffles soggy.
The Best Waffle Toppings
Classic
Savory (Yes, Really)
Over-the-Top
Expert Tips
Get the Right Waffle Iron
Not all waffle irons are created equal. For GF waffles, you want:
The Cornstarch Trick
Want EXTRA crispy waffles? Replace 2 tablespoons of the GF flour with 2 tablespoons of cornstarch. The cornstarch creates an even crispier exterior.
Don't Waste Leftover Batter
GF waffle batter doesn't hold well — the whipped whites deflate over time. Cook ALL the batter immediately, then freeze the extras.
📩 Want more tips like this?
Join celiacs getting weekly gluten-free tips, recipes, and hidden gluten alerts.
No spam. Unsubscribe anytime.
How to Freeze & Reheat
This is the real game-changer for busy mornings:
Storage: Freezer for up to 3 months. Always toast from frozen — microwaving makes them soft and sad.
Homemade frozen GF waffles are genuinely better than anything you can buy. And they cost about $0.40 each vs. $1+ for store-bought.
Ingredient Swaps
Frequently Asked Questions
Why are my GF waffles soggy?
Three possible causes: (1) Waffle iron not hot enough — let it preheat fully. (2) Batter is too thin — add 1-2 tablespoons more flour. (3) You stacked them after cooking — keep on a wire rack.
Can I make the batter ahead of time?
Not recommended. The whipped egg whites deflate within 15-20 minutes. Mix and cook immediately for best results.
Why do my waffles stick to the iron?
GF batter is naturally stickier. Solutions: (1) Use cooking spray EVERY time, even on non-stick. (2) Don't open the iron too early. (3) Add an extra tablespoon of melted butter TO the batter.
Are these waffles good for meal prep?
YES! Make a double batch on Sunday and freeze. Toast from frozen on weekday mornings. They reheat perfectly and taste freshly made.
Can I use this batter for pancakes?
Yes! Add 2-3 tablespoons more buttermilk to thin the batter slightly. Cook on a griddle at medium heat. Makes about 12 pancakes.
Before you bake, scan every ingredient with Check Gluten — even vanilla extract and baking powder can contain hidden gluten from shared facilities.
Crispy & Fluffy Gluten-Free Waffles: Better Than the Freezer Aisle
These gluten-free waffles are crispy on the outside, impossibly fluffy on the inside, and ready in 20 minutes. My kids don't even know they're GF — and that's the highest compliment a celiac parent can get.
Ingredients
- 2 cups (280g) gluten-free 1-to-1 baking flour
- 2 tablespoons granulated sugar
- 1 tablespoon baking powder
- 1/2 teaspoon baking soda
- 1/4 teaspoon salt
- 2 large eggs, separated
- 1 3/4 cups buttermilk (or 1 3/4 cups milk + 1 tablespoon lemon juice)
- 1/3 cup (75g) unsalted butter, melted and slightly cooled
- 1 teaspoon pure vanilla extract
- Cooking spray or melted butter for waffle iron
Instructions
Preheat your waffle iron. In a large bowl, whisk together the GF flour, sugar, baking powder, baking soda, and salt.
In a separate bowl, whisk together egg yolks, buttermilk, melted butter, and vanilla extract.
In a clean bowl, beat the egg whites with an electric mixer until stiff peaks form (about 2-3 minutes). This is the secret to fluffy waffles.
Pour the wet ingredients into the dry ingredients and stir until just combined. A few lumps are fine — do not overmix.
Gently fold in the whipped egg whites in two additions. Fold carefully to keep the air in the batter.
Spray the waffle iron with cooking spray. Pour about 1/3 to 1/2 cup batter onto the center of the iron (amount varies by waffle maker size).
Cook according to your waffle iron's instructions, typically 4-5 minutes, until golden brown and crispy. Do NOT open the iron early — this causes sticking.
Serve immediately or keep warm in a 200°F oven on a wire rack (not stacked — stacking makes them soggy).
Nutrition Information
Calories: 265 per waffle | Carbs: 33g | Protein: 6g | Fat: 12g
Nutrition information is an estimate provided by an online calculator.
Find Gluten-Free Recipes on Amazon
Shop certified gluten-free options
Top Gluten-Free Picks
📢 Found this helpful? Share it!
The Ultimate Celiac Survival Bundle
Stop stressing over cross-contamination and what to make for dinner. Get our complete 500+ recipe cookbook, dining out guide, and label reading cheat sheets.
200+ GF Baking Recipes
& Fast Food Protocols
Instant PDF Download • 60-Day Money Back Guarantee
About the Author
Rachel Lopez
Recipe Developer & Certified Pastry Chef
Rachel is a classically trained pastry chef who transitioned to gluten-free baking after her daughter was diagnosed with celiac disease. She develops and tests every recipe on Check Gluten, ensuring they work perfectly with GF ingredients.
Meet our full team →Medical Disclaimer: This article is for informational purposes only and is not a substitute for professional medical advice. Always consult your physician or a registered dietitian before making dietary changes related to celiac disease or gluten sensitivity. Read full disclaimer.
Related Articles
Easy Gluten-Free Meatballs (Better Than Store-Bought)
Tender, juicy, authentic Italian meatballs made entirely gluten-free. No special GF breadcrumbs required—we use a secret pantry ingredient to keep them perfectly soft!
Ooey Gooey Gluten-Free Cinnamon Rolls
You CAN have pillowy, melt-in-your-mouth cinnamon rolls on a gluten-free diet. This yeast-based recipe creates the magnificent, gooey breakfast treat of your dreams.
Fluffy & Buttery Gluten-Free Biscuits
Mile-high, flaky, buttery gluten-free biscuits that don't crumble when you butter them. Only 6 ingredients and ready in 30 minutes!
Easy Gluten-Free Sourdough Bread For Beginners
Missing real, crusty, tangy sourdough bread? This step-by-step guide walks you through making a gluten-free sourdough starter and baking your first perfect loaf.